Hello! I will be going to the beach for three days so I will just post ahead of time!
Today I will show you how I make my simple nylon halters.

I have this sheet that I use for measurements and it really comes on handy. All that I do is cut the ribbon to that length and all of my halters come out to be the same length.

I use 1/8 of an inch wide nylon ribbon. I bought this for two dollars at my local craft store but I'm sure that you can find ribbon online too. ( Social distancing)

I will be using this light yellow color.

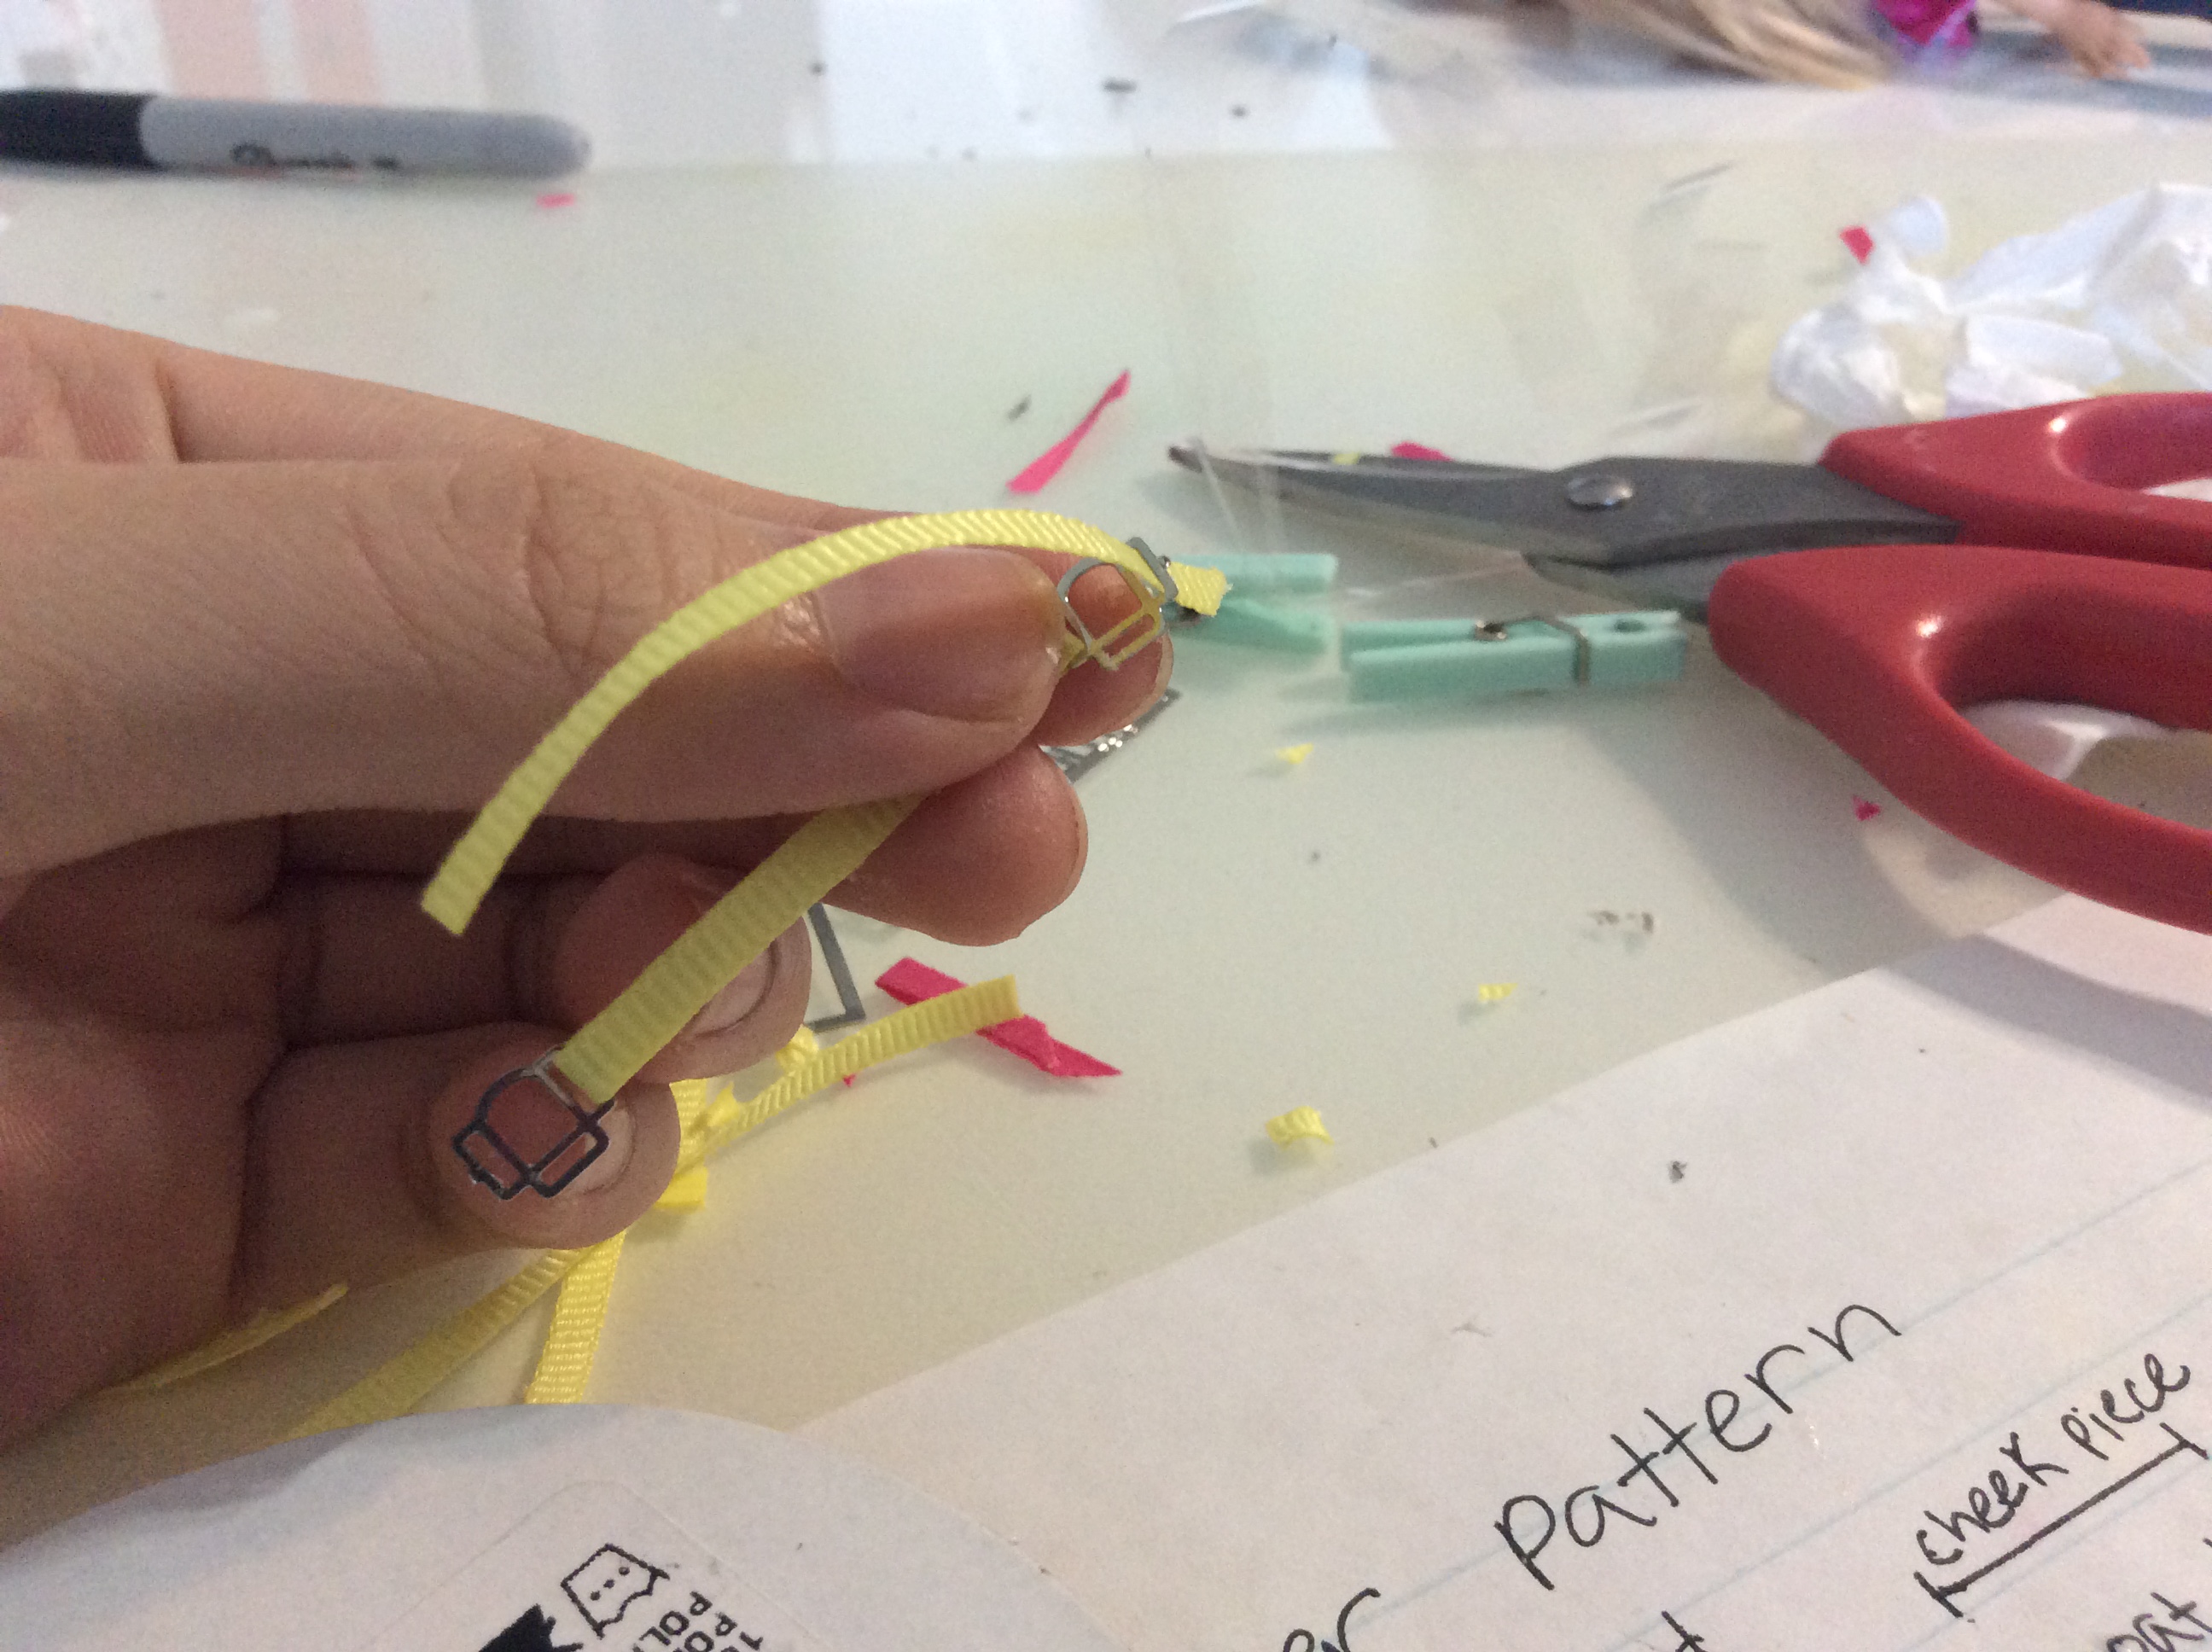
I like to cut my ends at a tip so that it is easier to thread through the halter rings and buckles.

First I thread the ribbon through the side of the halter ring. This piece will make the top noseband.

I add some glue and hold it in place for a few seconds.

Then I glue on the other side. It should now look like this.
Now it is time to make the bottom noseband! I do the same that I did for the top.


It should now look like a long line of 2 pieces of ribbon and 2 halter plates in between.

Once I glue it into a ring it starts to look like an actual halter!
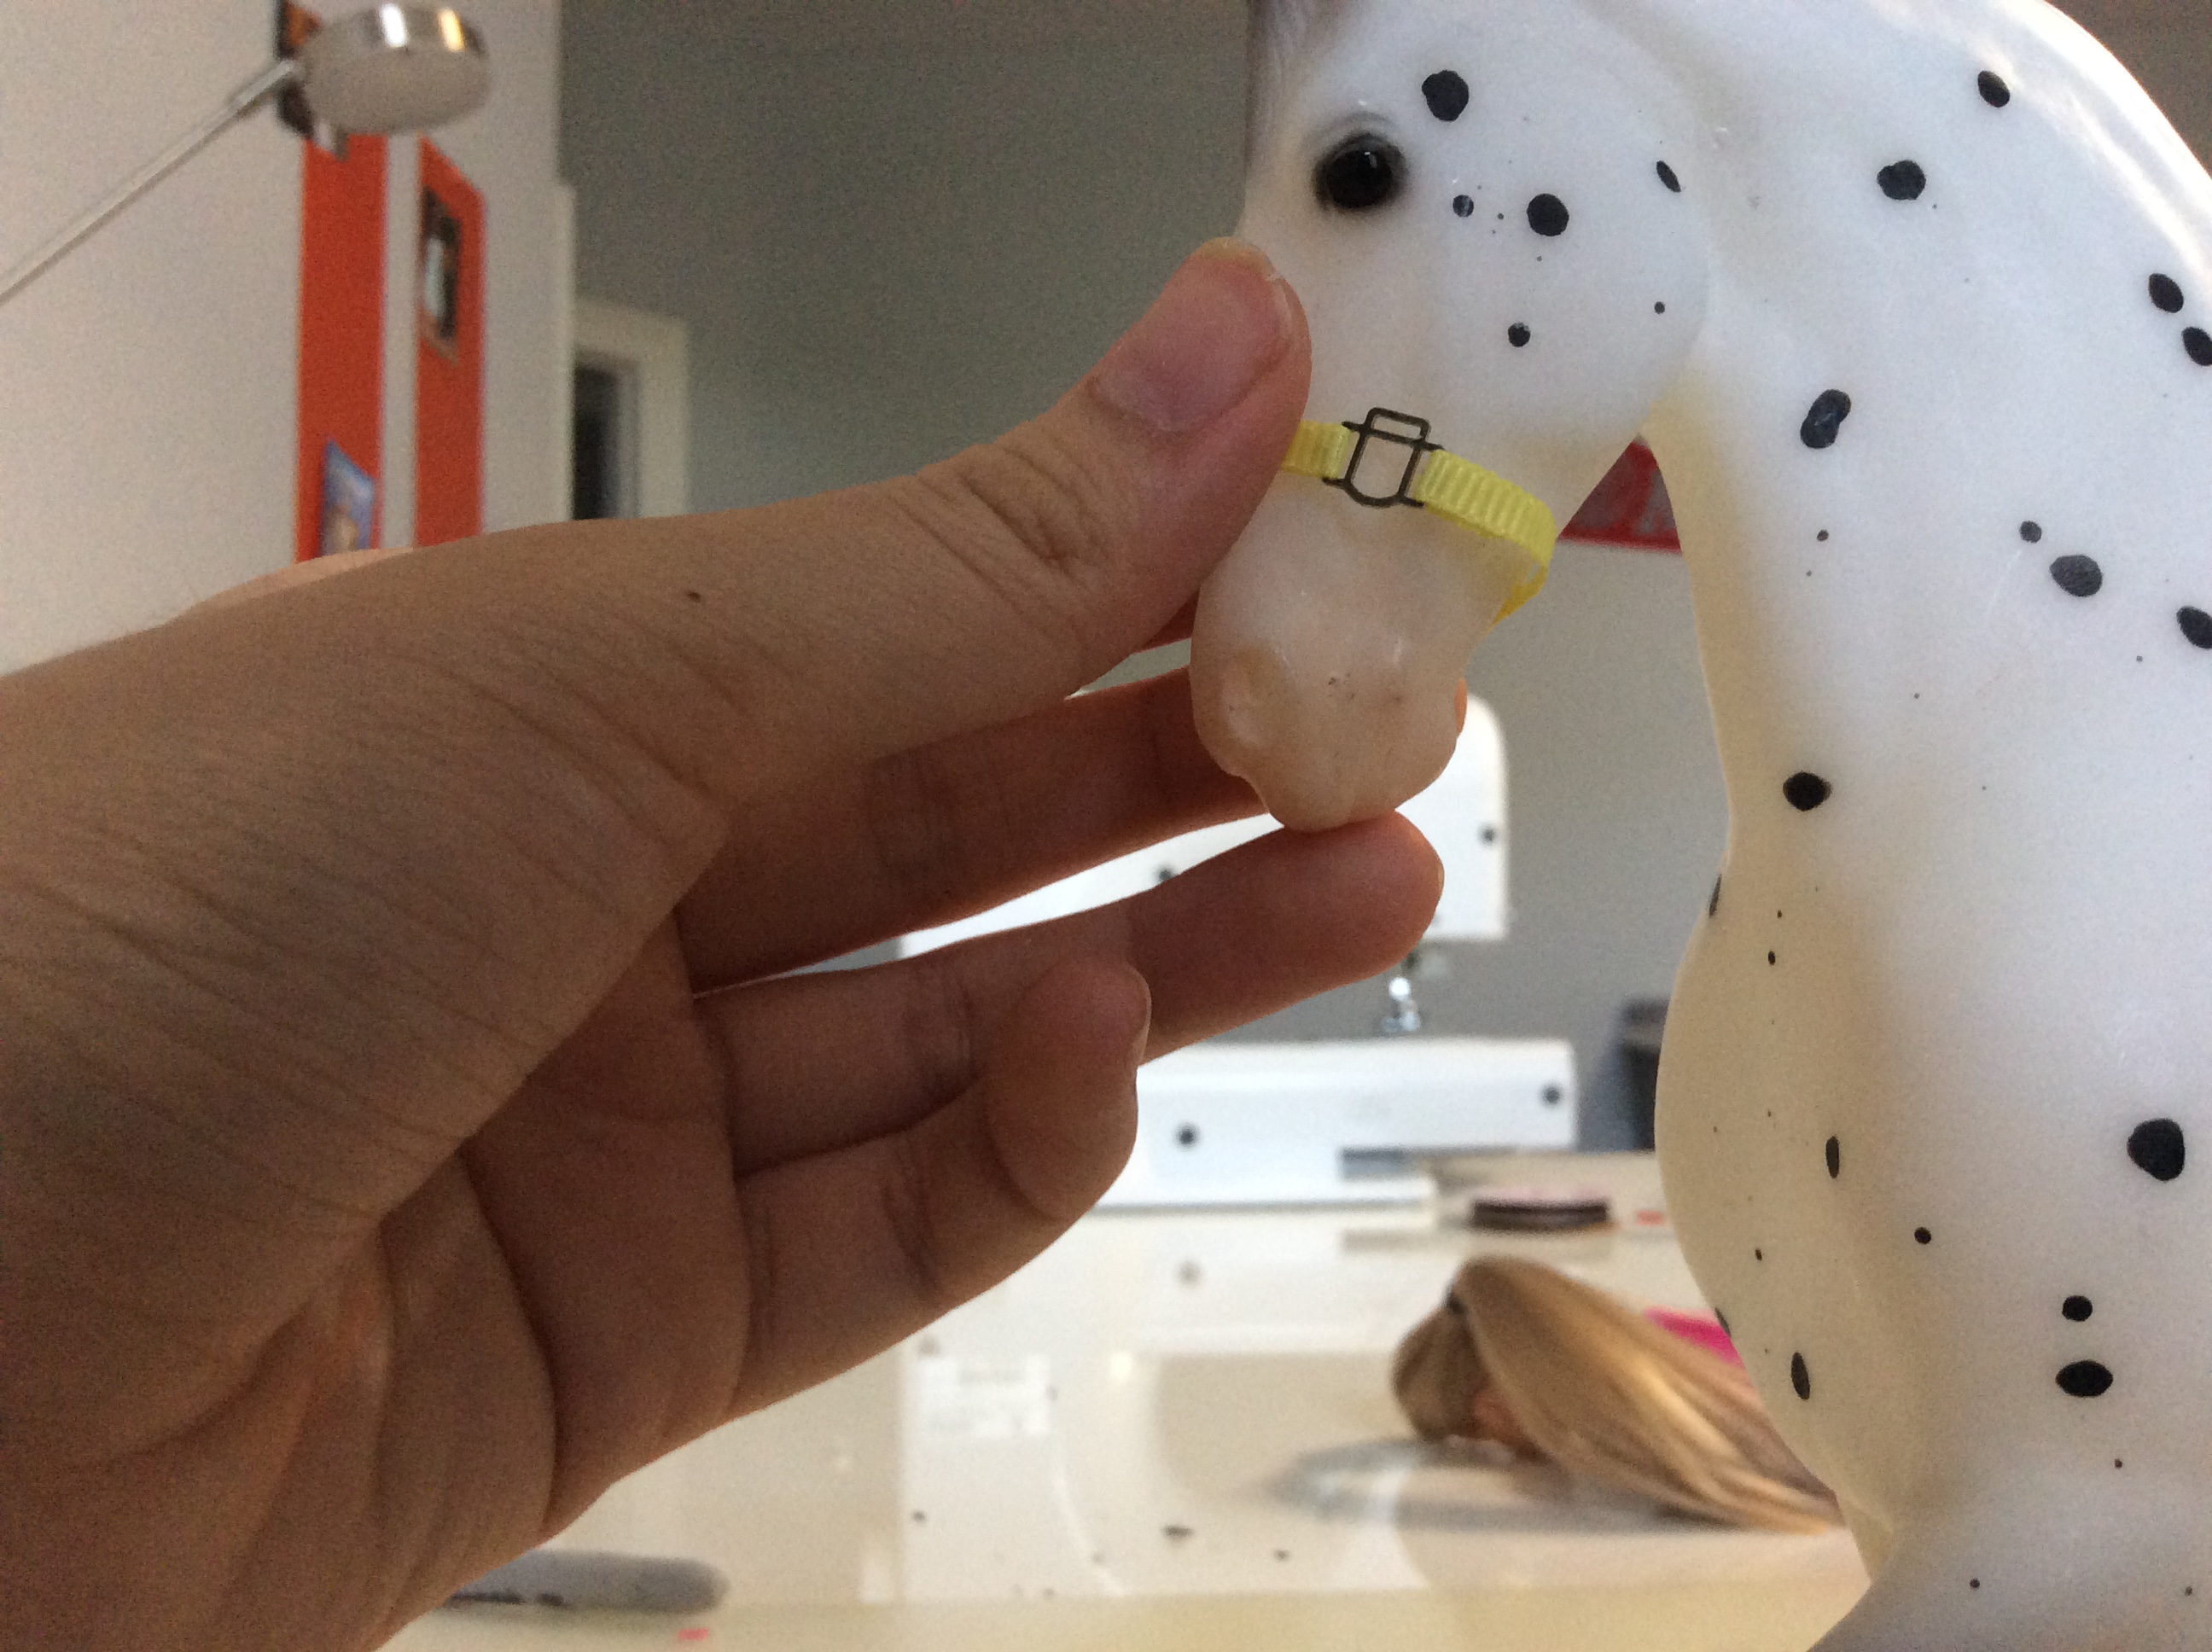
Make sure to measure on your model to check for sizing. Now my mom is telling me that we have to go so I will continue the tutorial when I get back!
No comments:
Post a Comment