Search

Sunday, June 28, 2020

Tassels, Tassels, Tassels...


The next thing on my check list that I want to tackle is the Arabian costume. After I got this cool fabric from my musical theater I just had to try it!


I know that my appaloosa isn't really an Arabian but it will work for now! This is my bridle ( without the tacky was on the bit)...


...and this is the saddle pad/ blanket.


If you have ever seen an Arabian costume they are covered in tassels! I think that making tassles is the most time consuming.


I picked the colors of string that I wanted...


And put in into a little box with a pair of scissors to take on the go!

Monday, June 22, 2020

Halter Tutorial Part 2

So I just got back from the beach trip. We are still unpacking sandy swimsuits and stuff! But I wanted to post this for today.

After measuring on your model horse you will need two jump rings. 


I cut out the cheek pieces and connect the jump rings to the nose piece.


I then do the same to the other side. Make sure not to add too much glue or it will become a messy sticky glue mess!


It's starting to look like a halter now! I then cut a throat latch and connect the two jump rings.


Next I need to add the connecting strap. Make sure to add space in when you are folding it over so that it can easily slide around. 


It is now time to connect the connecting strap to the nose band with two jump rings. I open them using my needle nosed pliers and then I close them using my pliers as well.


Now all that it needs is a way to stay on! I first attach a short strip of ribbon to the jump ring that is connected to the cheek piece.


Then on the other side I attach a long piece. I make it extra long because you can always trim it to fit!


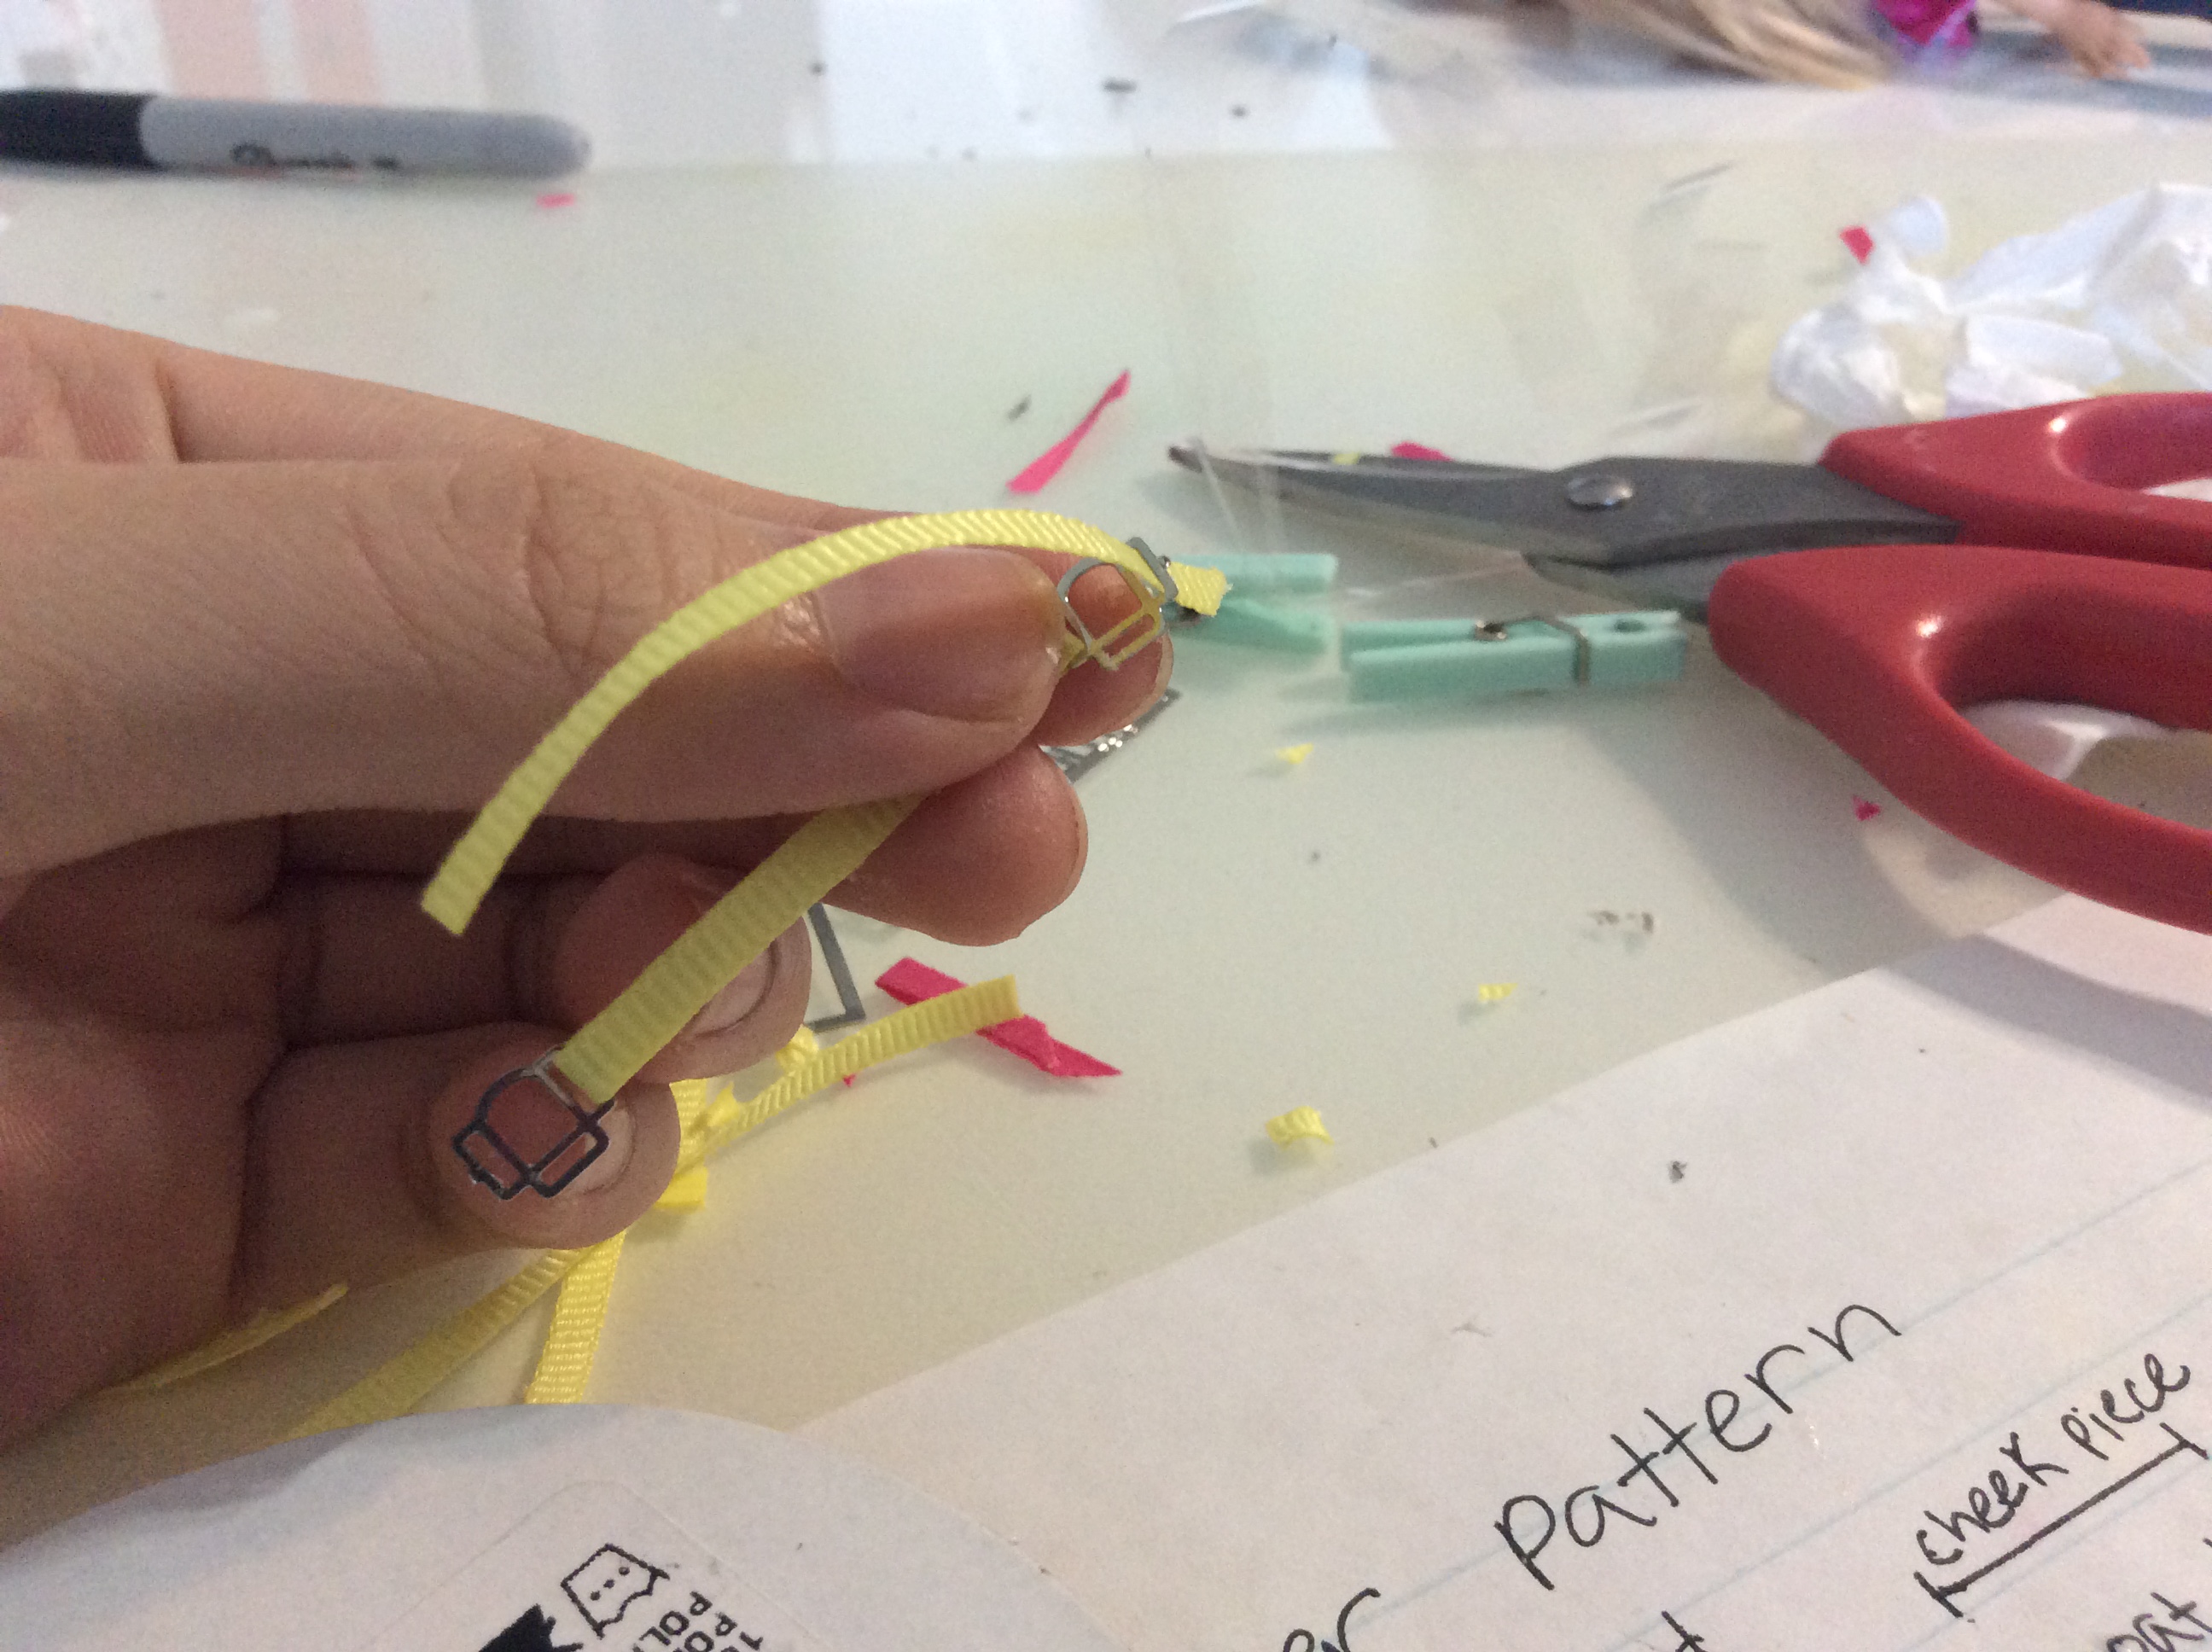
I then add a photo etched buckle from Rio Rondo onto the buckle side.


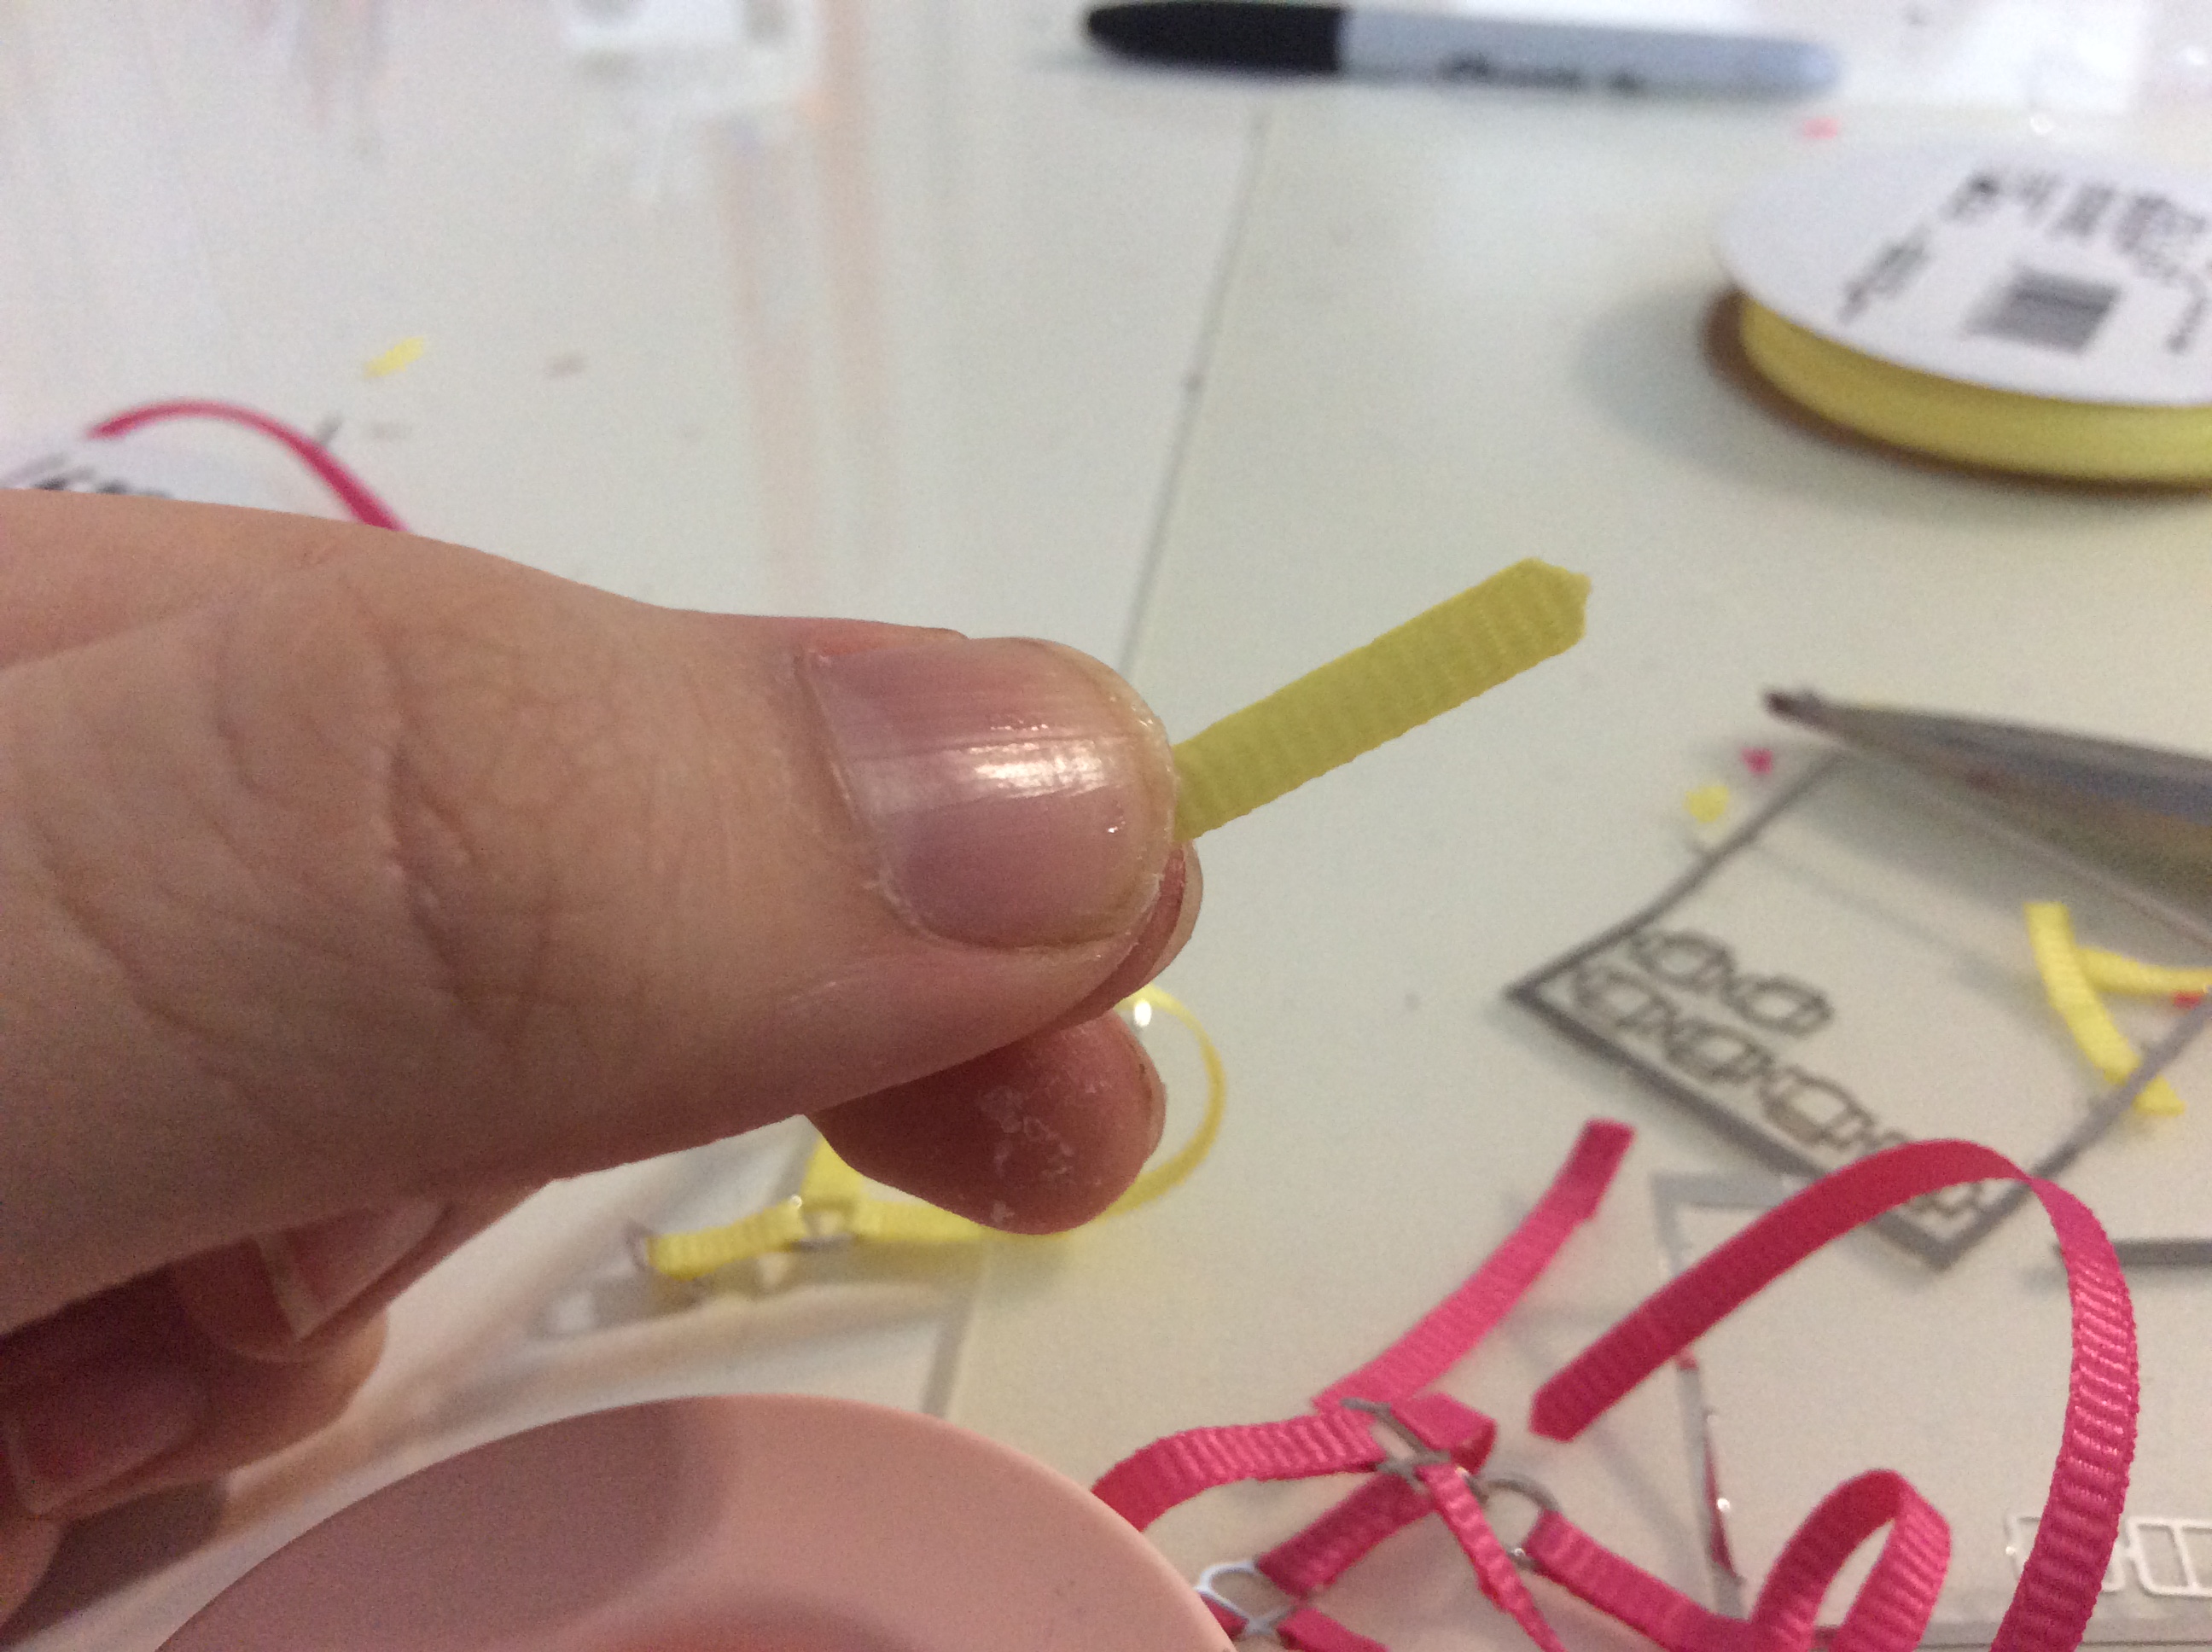
I cut it int a tip so that it is easier to slip on.


To make it hard to spread some glue onto my finger...


and spread it around until I have an even layer of glue.


Then I smear it onto the tip,


So that it becomes hard!


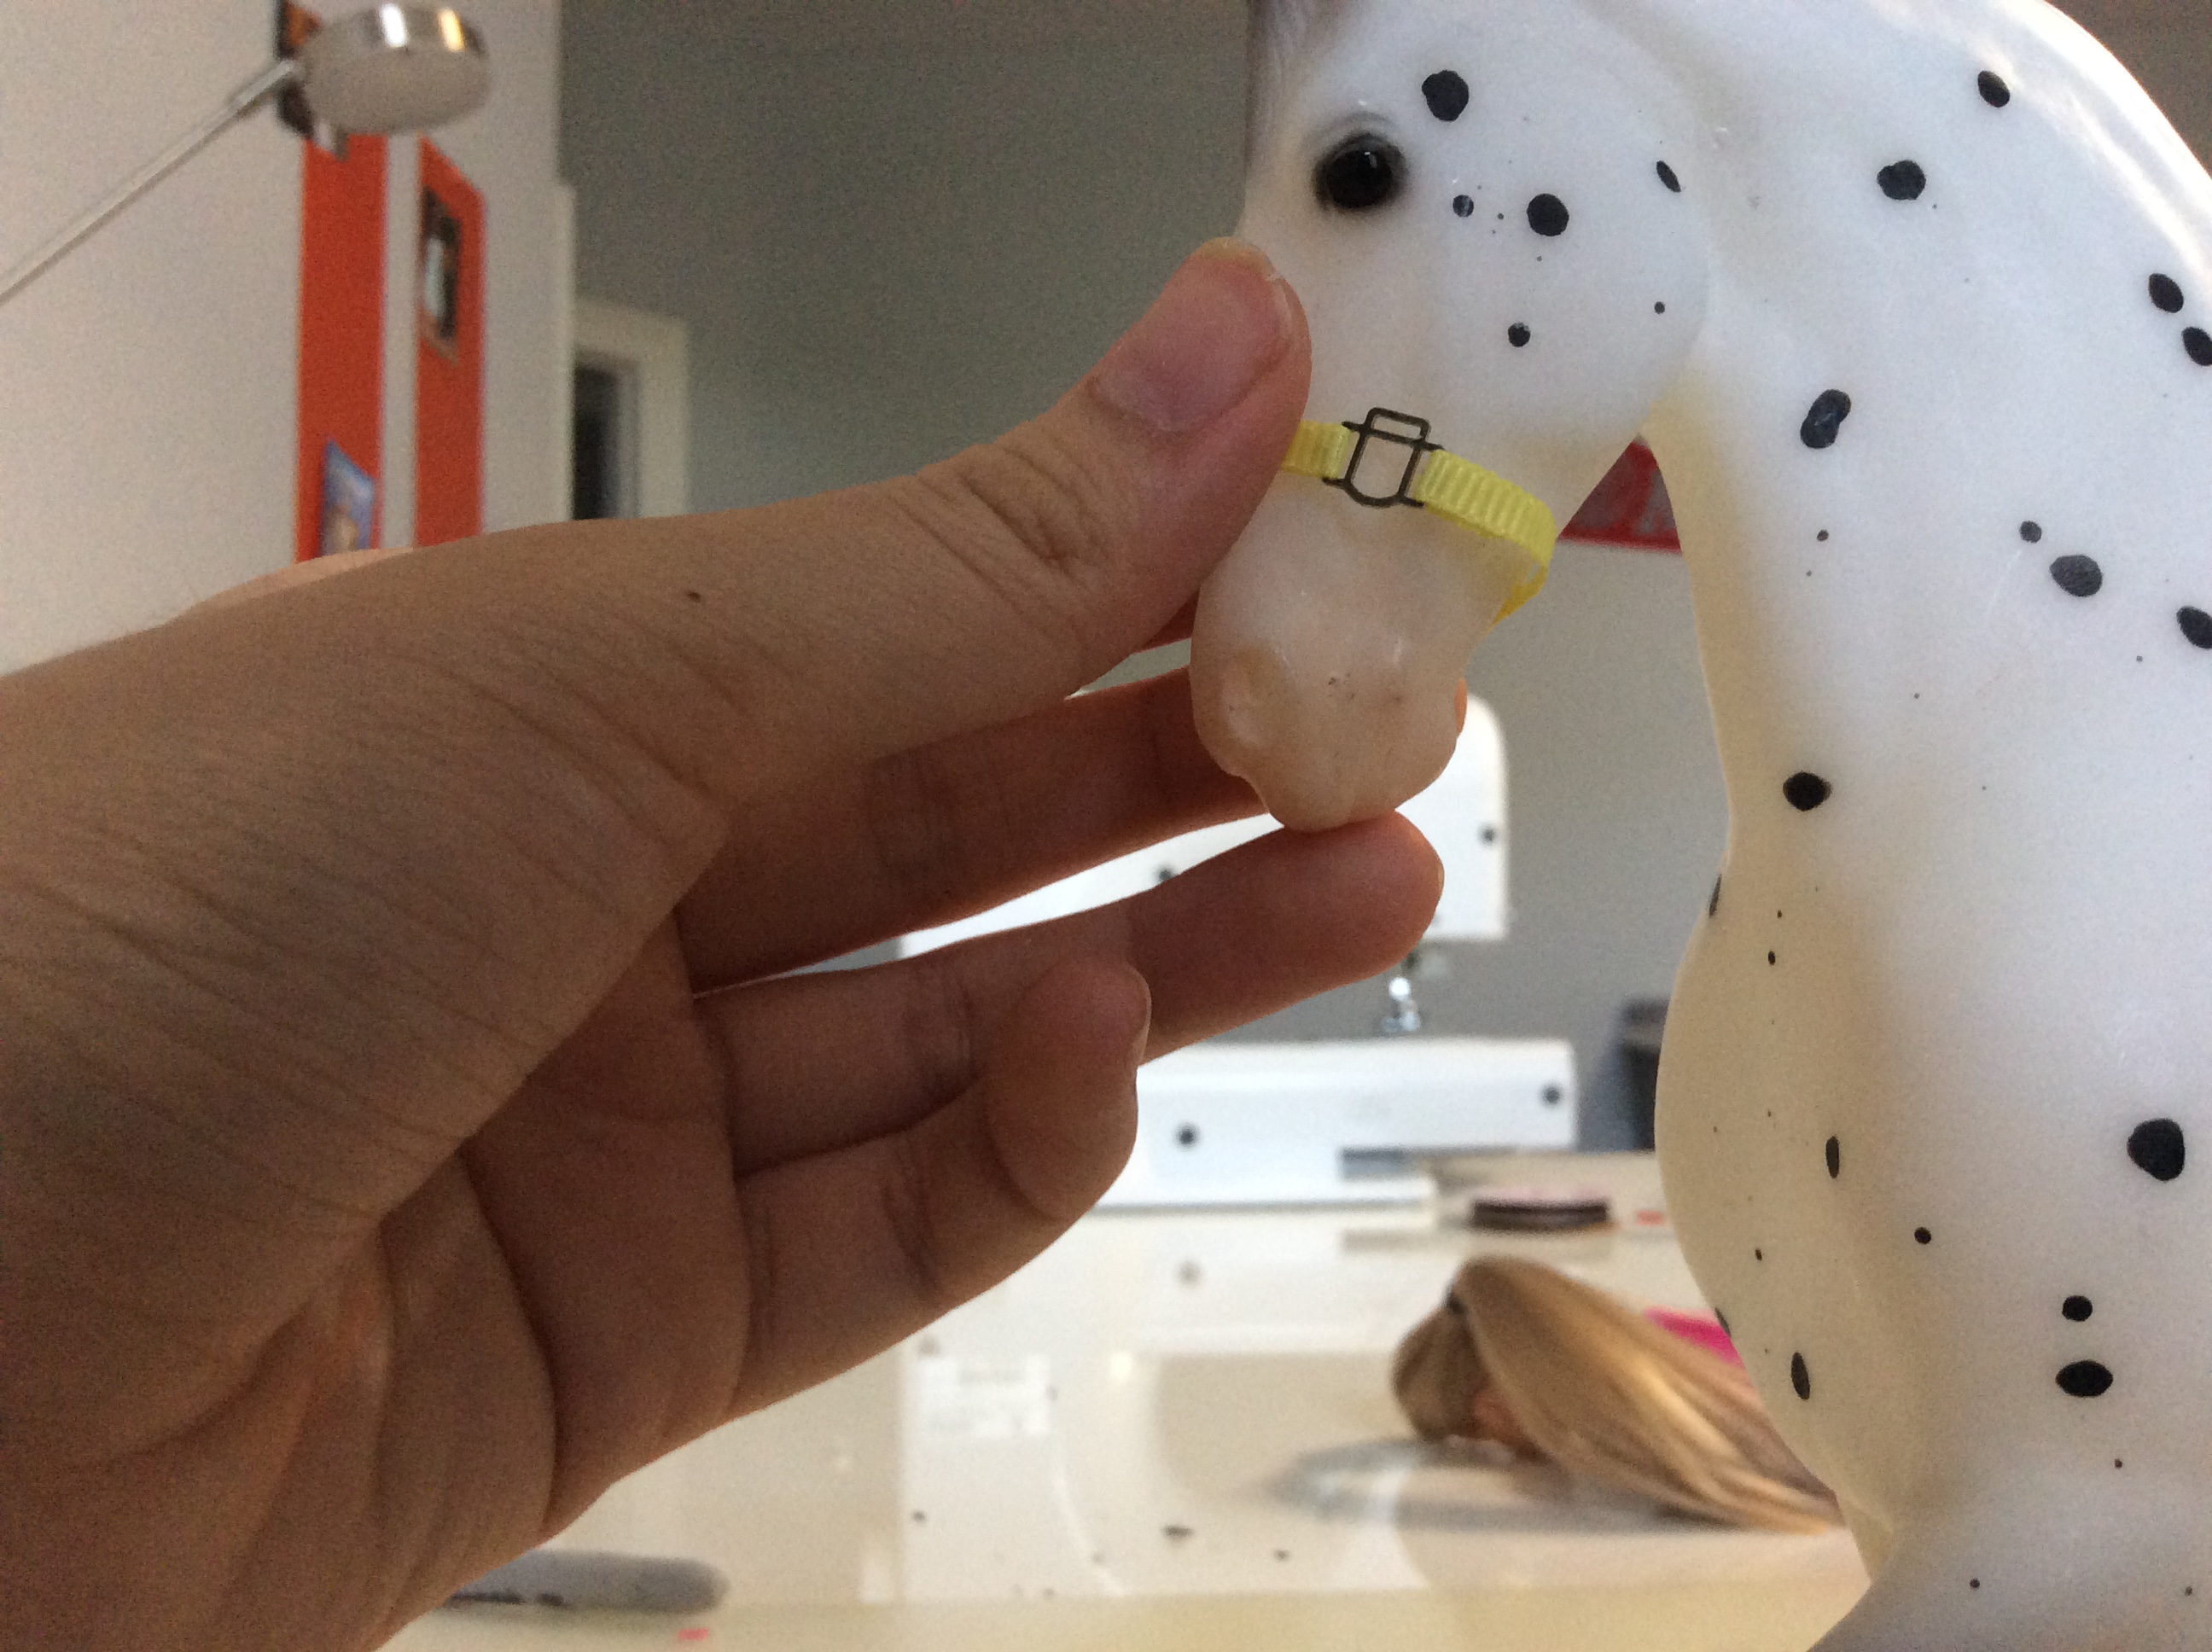
Your finished halter should look like this.


I also made a pink one to go with the yellow!


Sunday, June 21, 2020

Dressage Saddle, Bridle Set


Just now I officially posted my dressage set on Model Horse Sales Page. I never tried this website before but if seemed better than Ebay. It is so fun to scroll through and look at all of the different listings! This was my first dressage saddle, and I think that it came out beautiful. The pattern that I made really worked although I had to modify it a little bit along the way.

If you are interested in buying it, click here.


This is the saddle pad. I sewed each of the rows on my sewing machine! The border was tough but after lots of practice I got better!


This is the bridle. This time I made a padded noseband following the tack tip by Braymere Custom Saddlery. I think that it came out really cool!


And this is the whole set. I hope that you like it. I am so proud of my work and I am sad to part with it but I can't wait to make more tack!


Saturday, June 20, 2020

Halter Tutorial part 1


Hello! I will be going to the beach for three days so I will just post ahead of time!

Today I will show you how I make my simple nylon halters.


I have this sheet that I use for measurements and it really comes on handy. All that I do is cut the ribbon to that length and all of my halters come out to be the same length.


I use 1/8 of an inch wide nylon ribbon. I bought this for two dollars at my local craft store but I'm sure that you can find ribbon online too. ( Social distancing)


I will be using this light yellow color.


I like to cut my ends at a tip so that it is easier to thread through the halter rings and buckles.


First I thread the ribbon through the side of the halter ring. This piece will make the top noseband.


I add some glue and hold it in place for a few seconds.


Then I glue on the other side. It should now look like this.


Now it is time to make the bottom noseband! I do the same that I did for the top.


It should now look like a long line of 2 pieces of ribbon and 2 halter plates in between.


Once I glue it into a ring it starts to look like an actual halter!


Make sure to measure on your model to check for sizing. Now my mom is telling me that we have to go so I will continue the tutorial when I get back!

Wednesday, June 17, 2020

Safari


I'm so sorry that I couldn't post in a while. I was really busy this week with tack. My mom decided to finally get out of the house and do something fun, so we drove to this safari place where you feed animals from your car. It was so fun especially the alpacas!😃


Some lamas and alpacas were very pushy with their food. They stole it out of our cups!


There were two bison there as well, but they were not in the mood for food. 


This one emu looked at me with its big eyes. Close up their heads look so scary!


The emu would just snatch the food out of the air. That needed some skills!


Look at that scary face!


This one lama stuck it's whole head into the car! It's nose/ muzzle and it's ears were SO soft!


This herd of deer were just lounging in the hay not caring for the food that I had.


Today was so fun. It felt so nice to get out of the house for once even if it was only in the car!

Wednesday, June 10, 2020

So Much Stuff

This week I defiantly went on a buying frenzy! All of the stuff came in the mail and wow I did not notice how much stuff I bought!


I got gum tragacanth to smooth down the edges of leather and give them a smooth appearance. When I opened the bottle I noticed that it smelled so good, like limes or something!


This giant pile of scrap leather also came. I know that it's "scraps" but since my saddles are smaller so scraps are more than enough!


I also got this black cotton broadcloth to sew riding outfits for my dolls. This material sewed really well and makes my jackets look so much more neat!


And last but not least this bottle of dark brown dye. I had been wanting to make brown saddles for a while now instead of just black. So this week I finally got a bottle. Once I finish this dressage saddle that i'm working on I am going to make a brown jumper saddle!


I was dying my leather lace black and my glove ripped and I got black all over my finger! It looked like I had really bad frostbite or something. I had a really fun time yelling
" My finger is turning black!"


I tried to wash it off with water, but of course it did not come off so I had to try and take it off with nail polish remover.


That sort of did the trick but my hands still have quite a lot of black on them!