Search

Showing posts with label Tutorials. Show all posts

Friday, April 16, 2021

Painting Jump Rails

Hello! Two days ago my brother needed something from Michels, so I happily tagged along. You can get so many project ideas from the craft store! In the clearance aisle  I saw a pack of six wooden dowels for only three dollars! 

Then I remembered something that I’ve always wanted to make. A butterfly jump! So I bought them along with some painters tape. Here’s how I did it:


First I measured out one inch increments. Then I wrapped tape around each end. You can do any pattern that you like, but I decided to do black, blue, and white.
The good thing about tape is that you don’t have to worry about painting straight lines. 


Once the black paint had dried, I put some more tape around the edges to paint in the colors. 


Once I did that I was done! I think that the poles that I painted came out great! Now I just have to build the wooden butterfly and the jump cups.


I hope that this was clear. I’m not really good at writing tutorials.


Sunday, November 8, 2020

Tip: How to Reduce Glue Residue

Today I am going to share a quick tip! Whenever I make a saddle or bridle I always get a little glue on my fingers. You usually can't tell, until it's too late, you got glue on the leather!  Below is a picture of my very first leather saddle. As you can see there is glue ALL over it.


Over the past few months I've been using this trick to get rid of that extra glue. First I use a scrap of T- shirt to wipe my fingers off. At first I used paper towels but paper tends to stick to glue really easily and rip. 
Second tip, I always have a damp towel. If I ever do get some glue on the leather I can just wipe it off!


See! All gone! ( Just make sure that the towel isn't too wet or else it could turn into a big sloppy mess.)


Well that's my quick tip for the day! See you tomorrow!


Sunday, October 11, 2020

Tutorial: Dying Leather Lace

     Hello! Today I will be showing you how I dye my leather lace. You can buy pre dyed lace but the colors don't always match up with your dye. So I like to color the lace myself. I bought this leather lace from Leather Cord U.S.A.


First you will want to cut long strips of lace. I like to dye a lot at once so that I don't have to do it again.


Next you will want to find someplace to dye it. Using dye can get really messy so I do it over my basements sink although you can do it over anything you don't mind getting dirty. As you can see my dad also uses this sink for cleaning his paint brushes so a few spills of black/brown dye is okay.


I will be using this Fiebings's dark brown color. I also have a black but today I wanted to make a few brown bridles.


To apply the dye I use a paper towel. I have used wool daubers but when dying lace it is much easier with a rag or paper towel.


I fold the paper towel in half...


...and dip it in the dye bottle!


Now you can fold it over the lace and just pull it through! This creates a nice, even color super fast. I usually do multiple coats depending on how dark I want it to be. 


This is how the color turned out when I was done. 


Now I have to let the leather dry. It usually dries pretty fast but you want it to be completely dry before using it.


Optional: I add many layers of Super Shene on my leather to make it look extra shiny. I put it on the same way that I put on the dye.


Once you've finished with that your leather lace is ready for crafting!


Lily and Cindy eating kale.


Wednesday, July 29, 2020

Tutorial: Saddle Pads

I just got back from the fabric store with some new patterns! I thought that it would be a good idea to share how I make saddle pads.

First I pick my fabric. Today I used this swirly glitter pattern. You don't need a lot so I just bought half a yard.


Next you will need batting. People usually use this in quilts, but I will be using it in my saddle pad! I got the thinnest one to be in scale. Don't worry if it looks thick because it gets compressed as you sew.


I cut out a rectangle bigger than my saddle pad. This way I can cut the shape out later.


Once I have the rectangle I cut the batting to go in between the two layers of fabric.


To make the batting be in the middle I place it like a sandwich. I fold the fabric in half and line it up with the fold line.


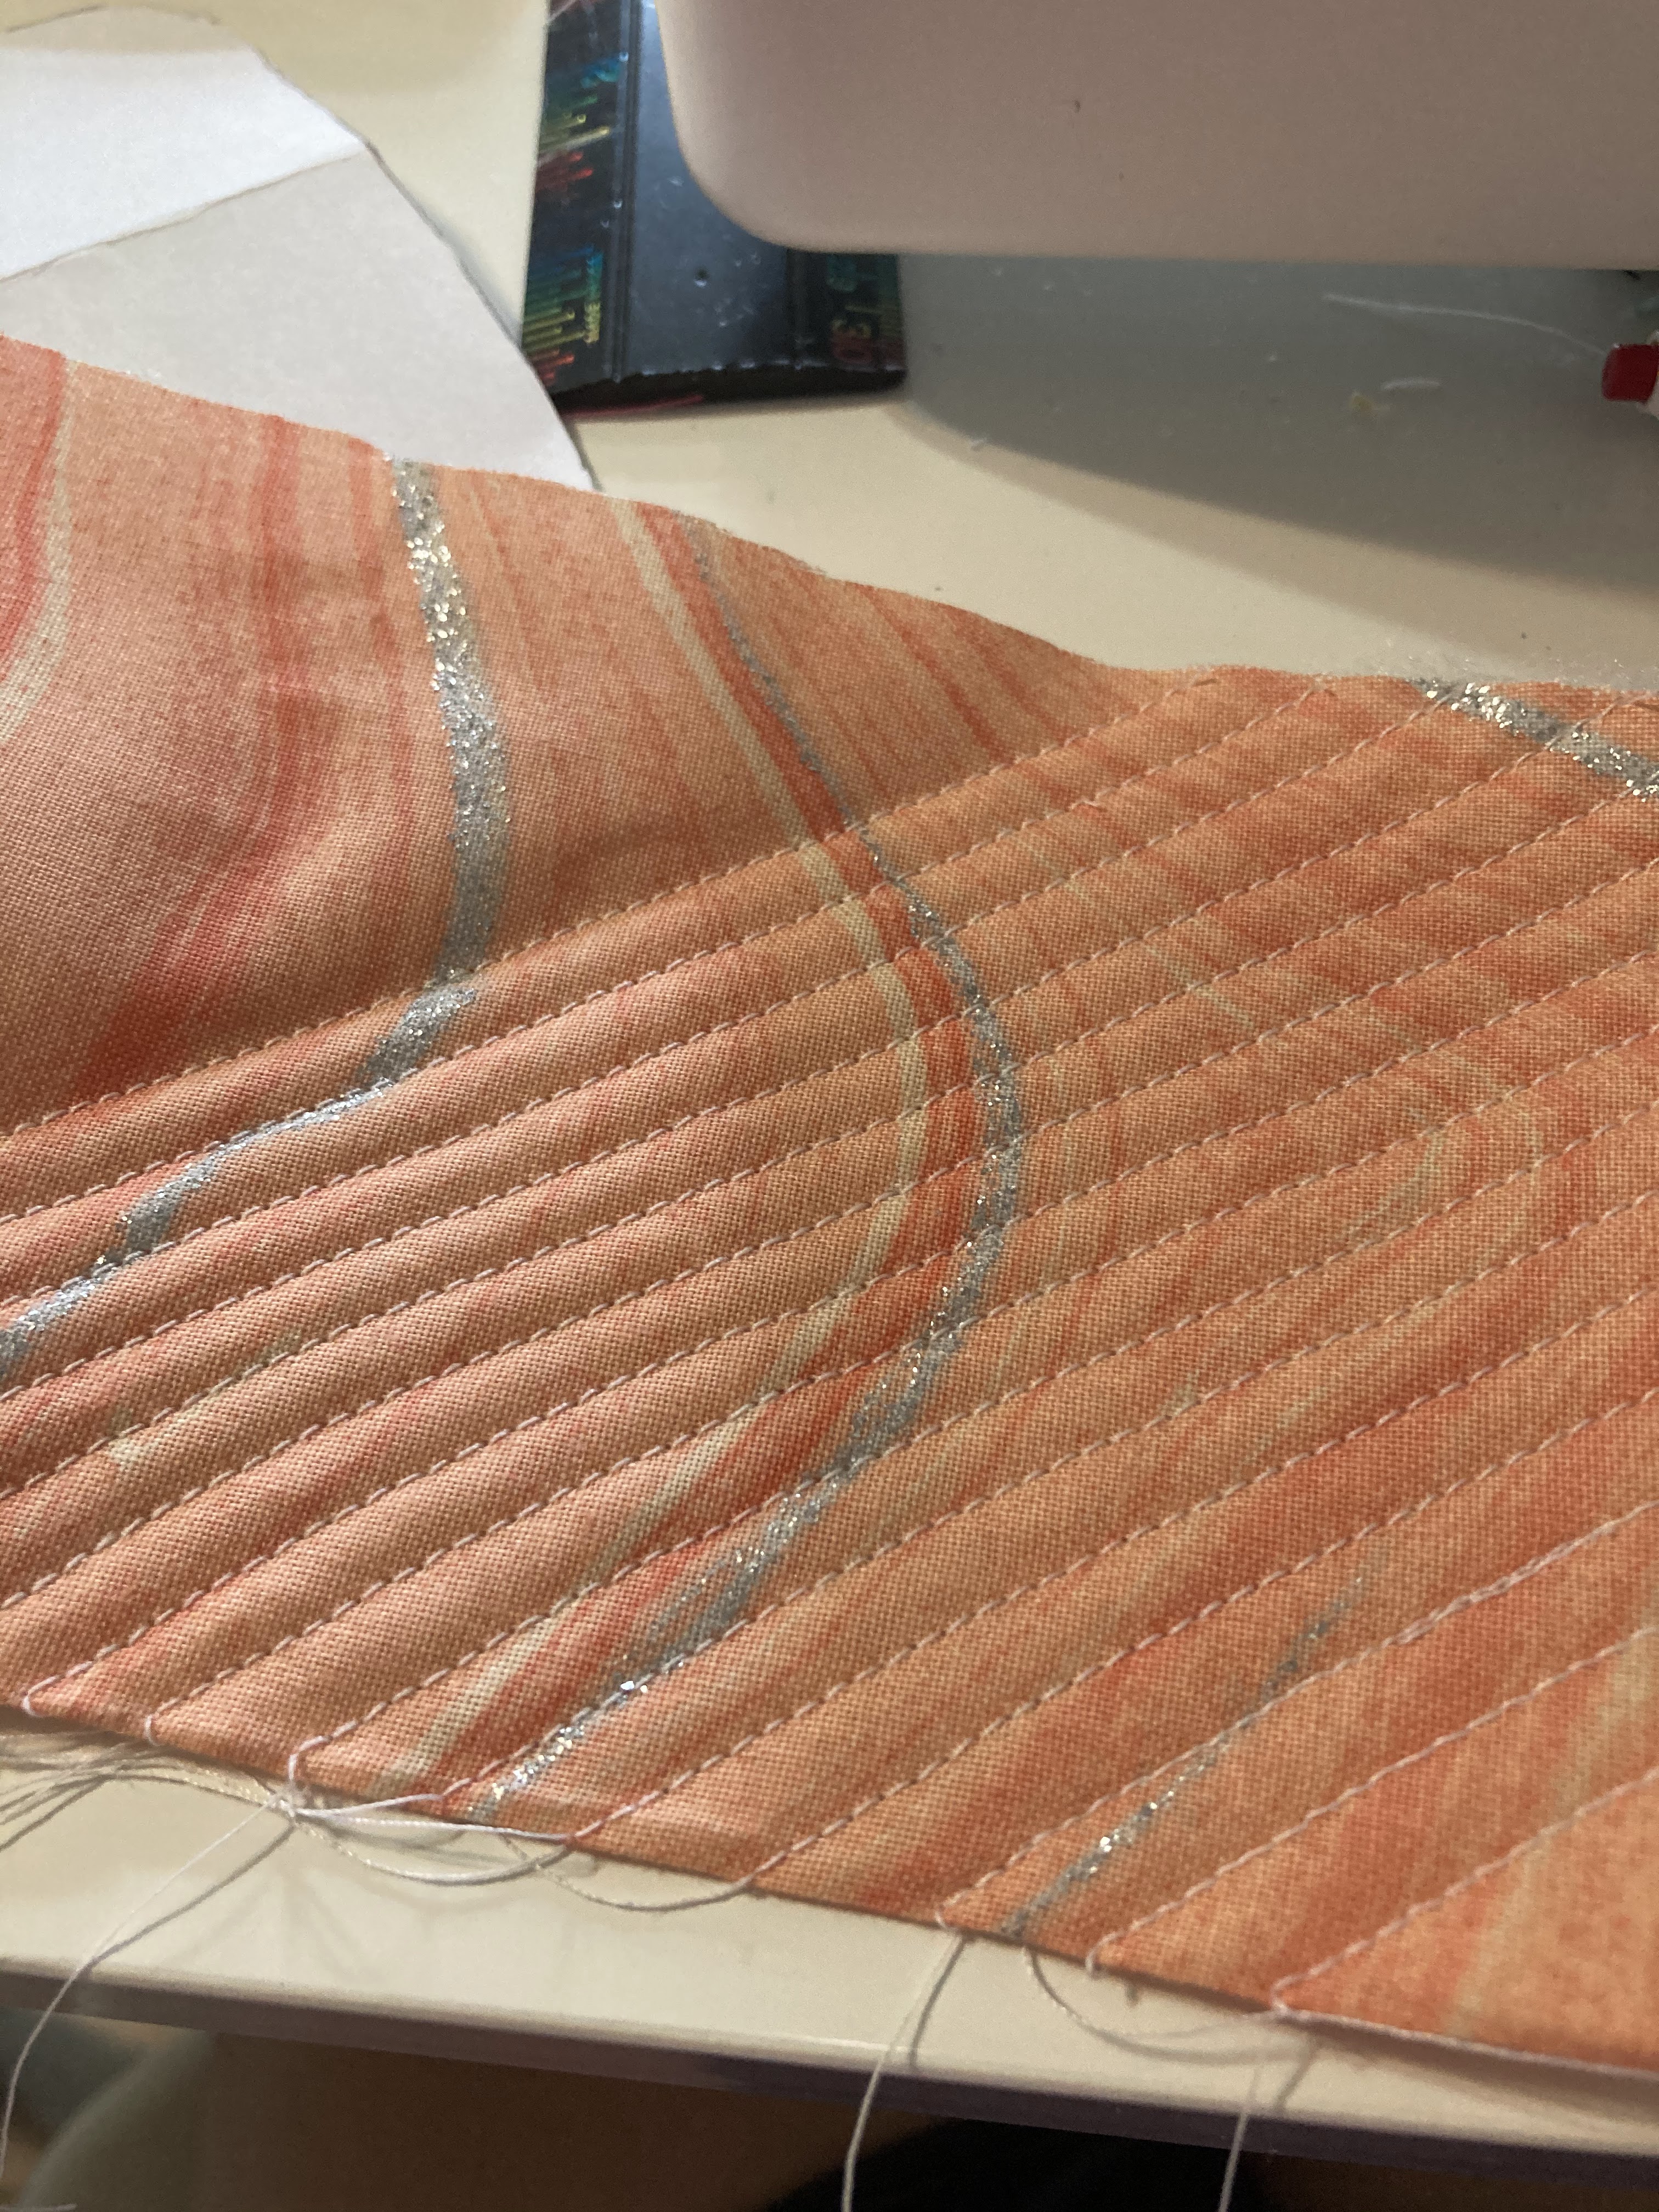
Now I'm ready to sew! To start I position the needle at the corner, and then I just let it go! I don't hold it I just let the machine do the work. I know you might be wondering why I'm not holding it, well it's because this way I get a perfectly straight line.


After you have that sew line I line it up with my foot. Which in this case is the second grove. This is how I get fairly even lines.


This is defiantly the most time consuming part, if you don;t take your time the lines might come out funky and you may have to sew them again. ( I have done this many, many times. That is the reason I have so many fails!)


I sew the entire rectangle ...


untile I have enough room to cut out a saddle pad shape.


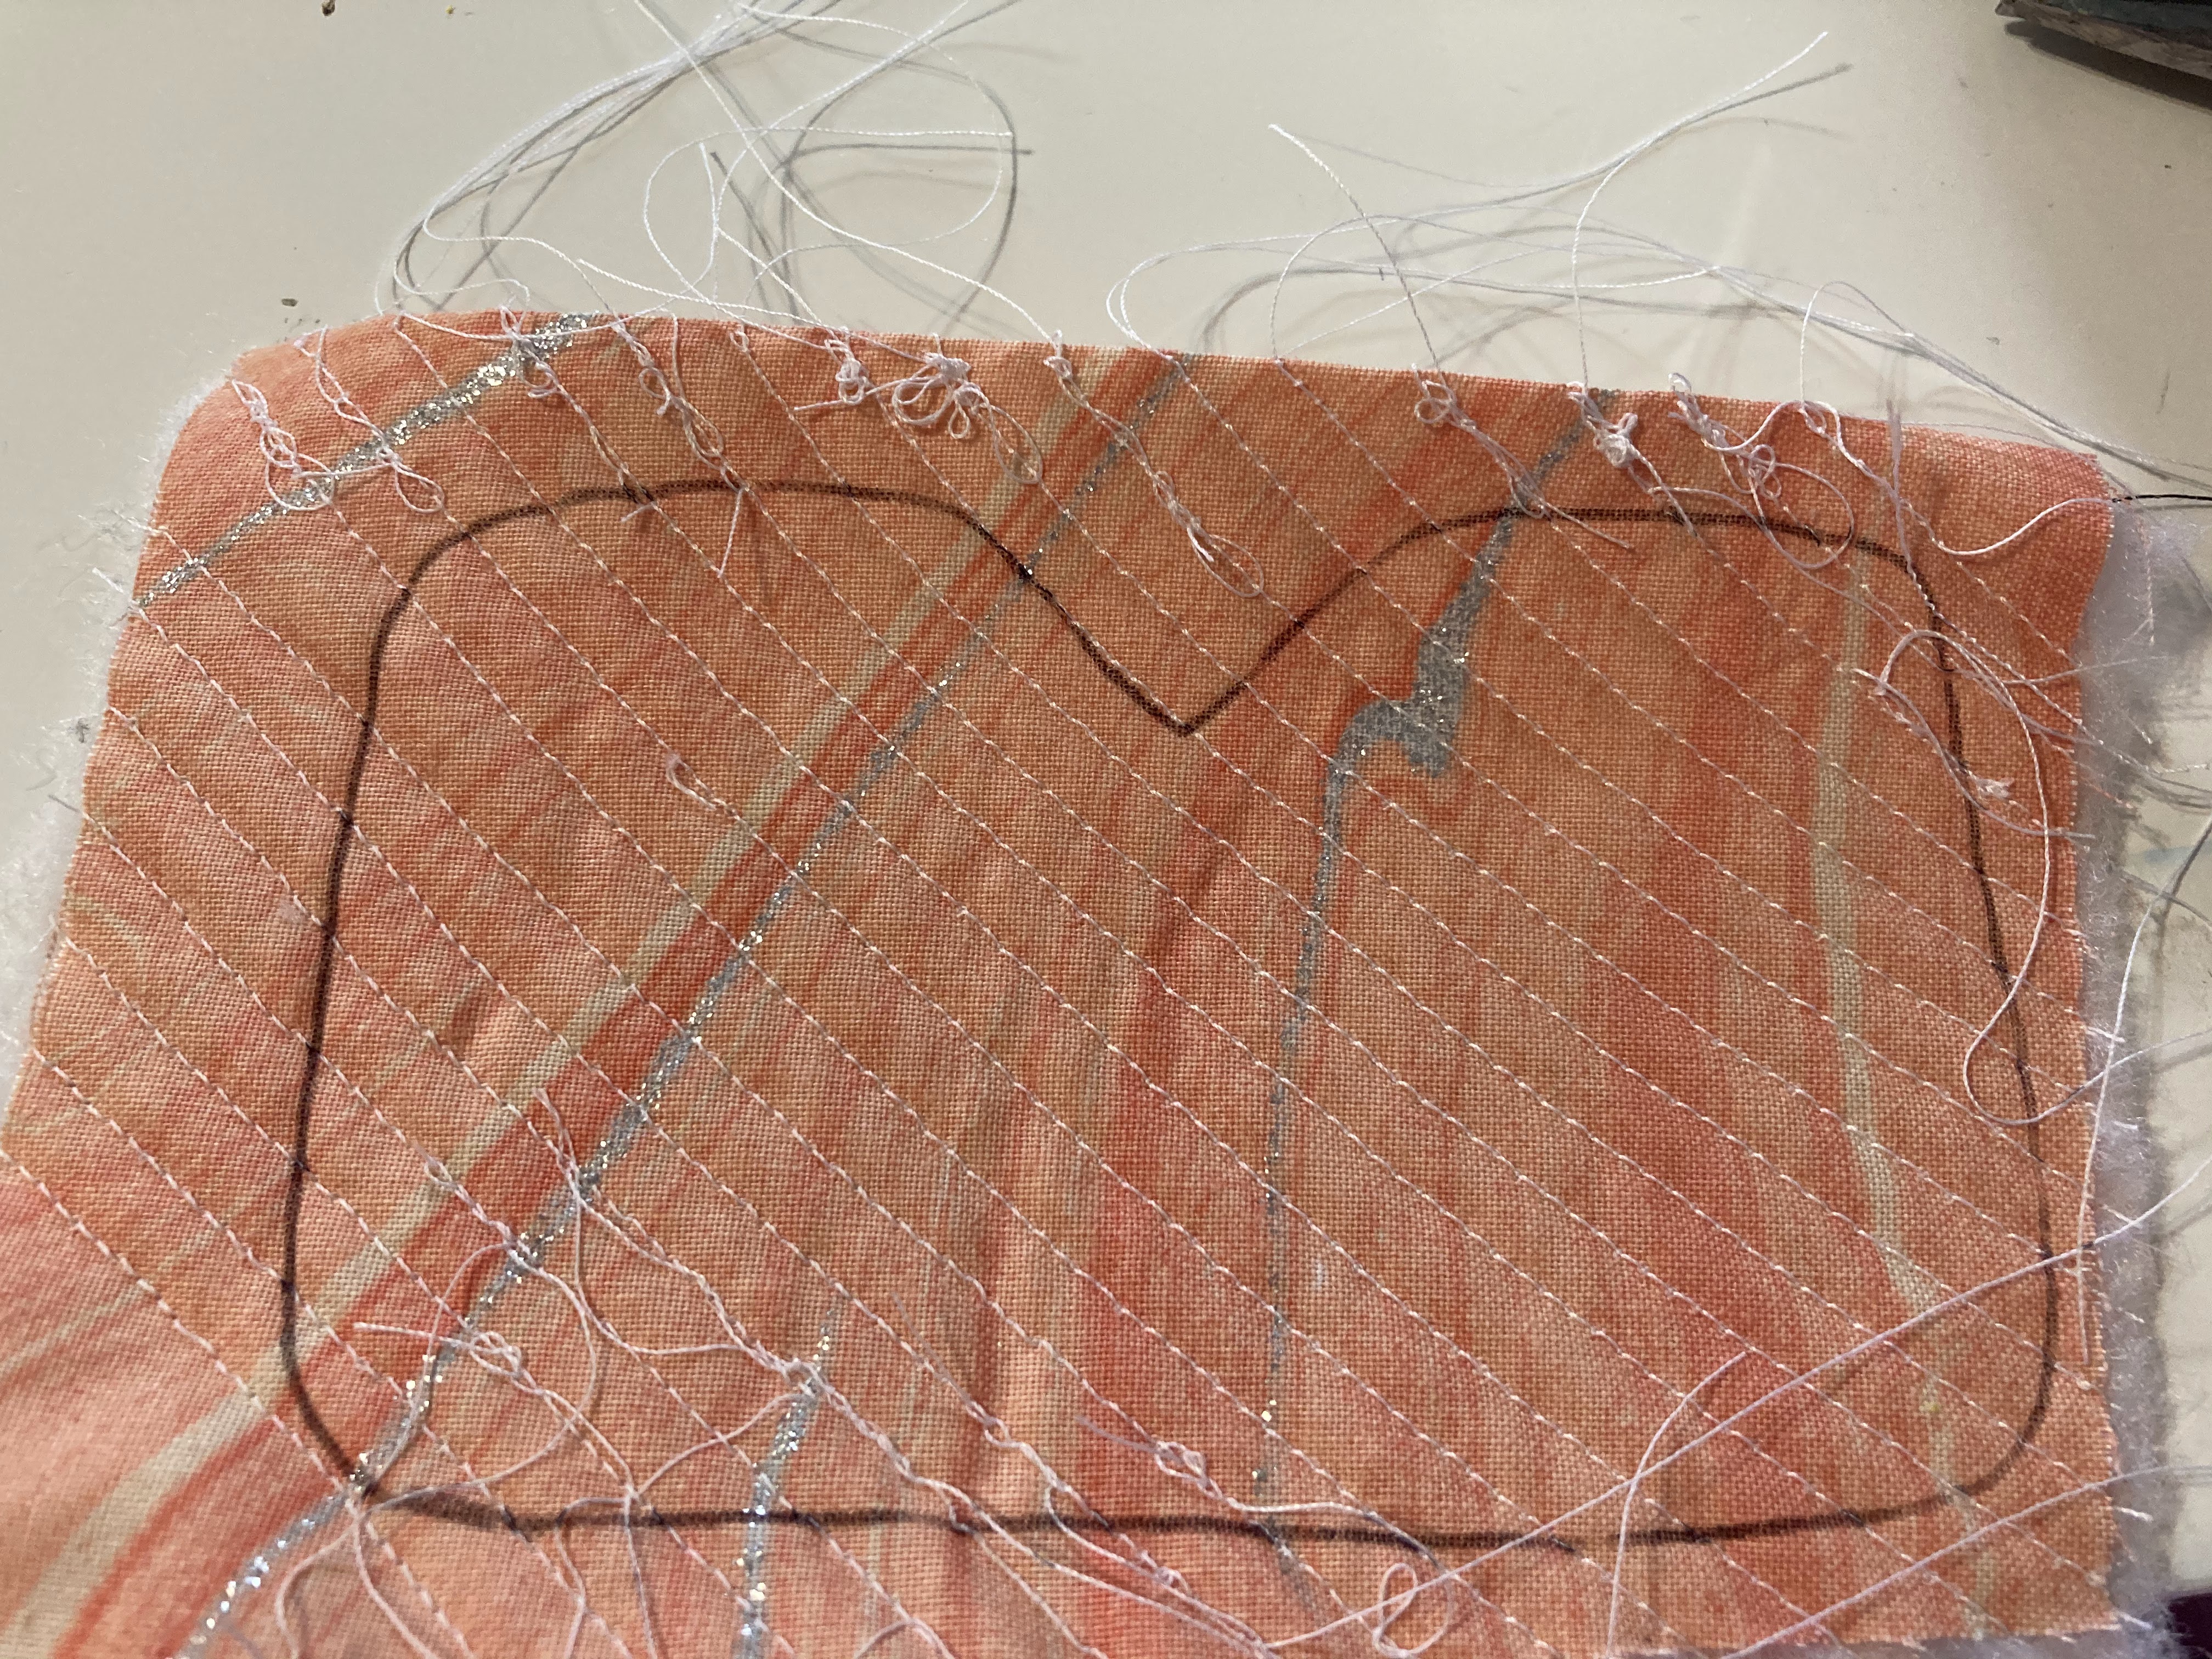
I flip it over and trace the pattern.


It should look like this:


After cutting it out the strings are all neat and finished.


*sigh* now you have to sew it again but in the other direction.


In order to get that lovely curve you have to fold it in half and trace it out.


It should look something like this:


Then I sew along that line making sure that I stay on it.


When I fold it over again it should have the nice curve, just like a real saddle pad!


Now for the part that gave me the most trouble. Cut out a long strip of a pice of fabric... longer is better!


And I sew the end to make a better finish.


Now come the hard part. I line up the edge with the middle of the saddle pad.


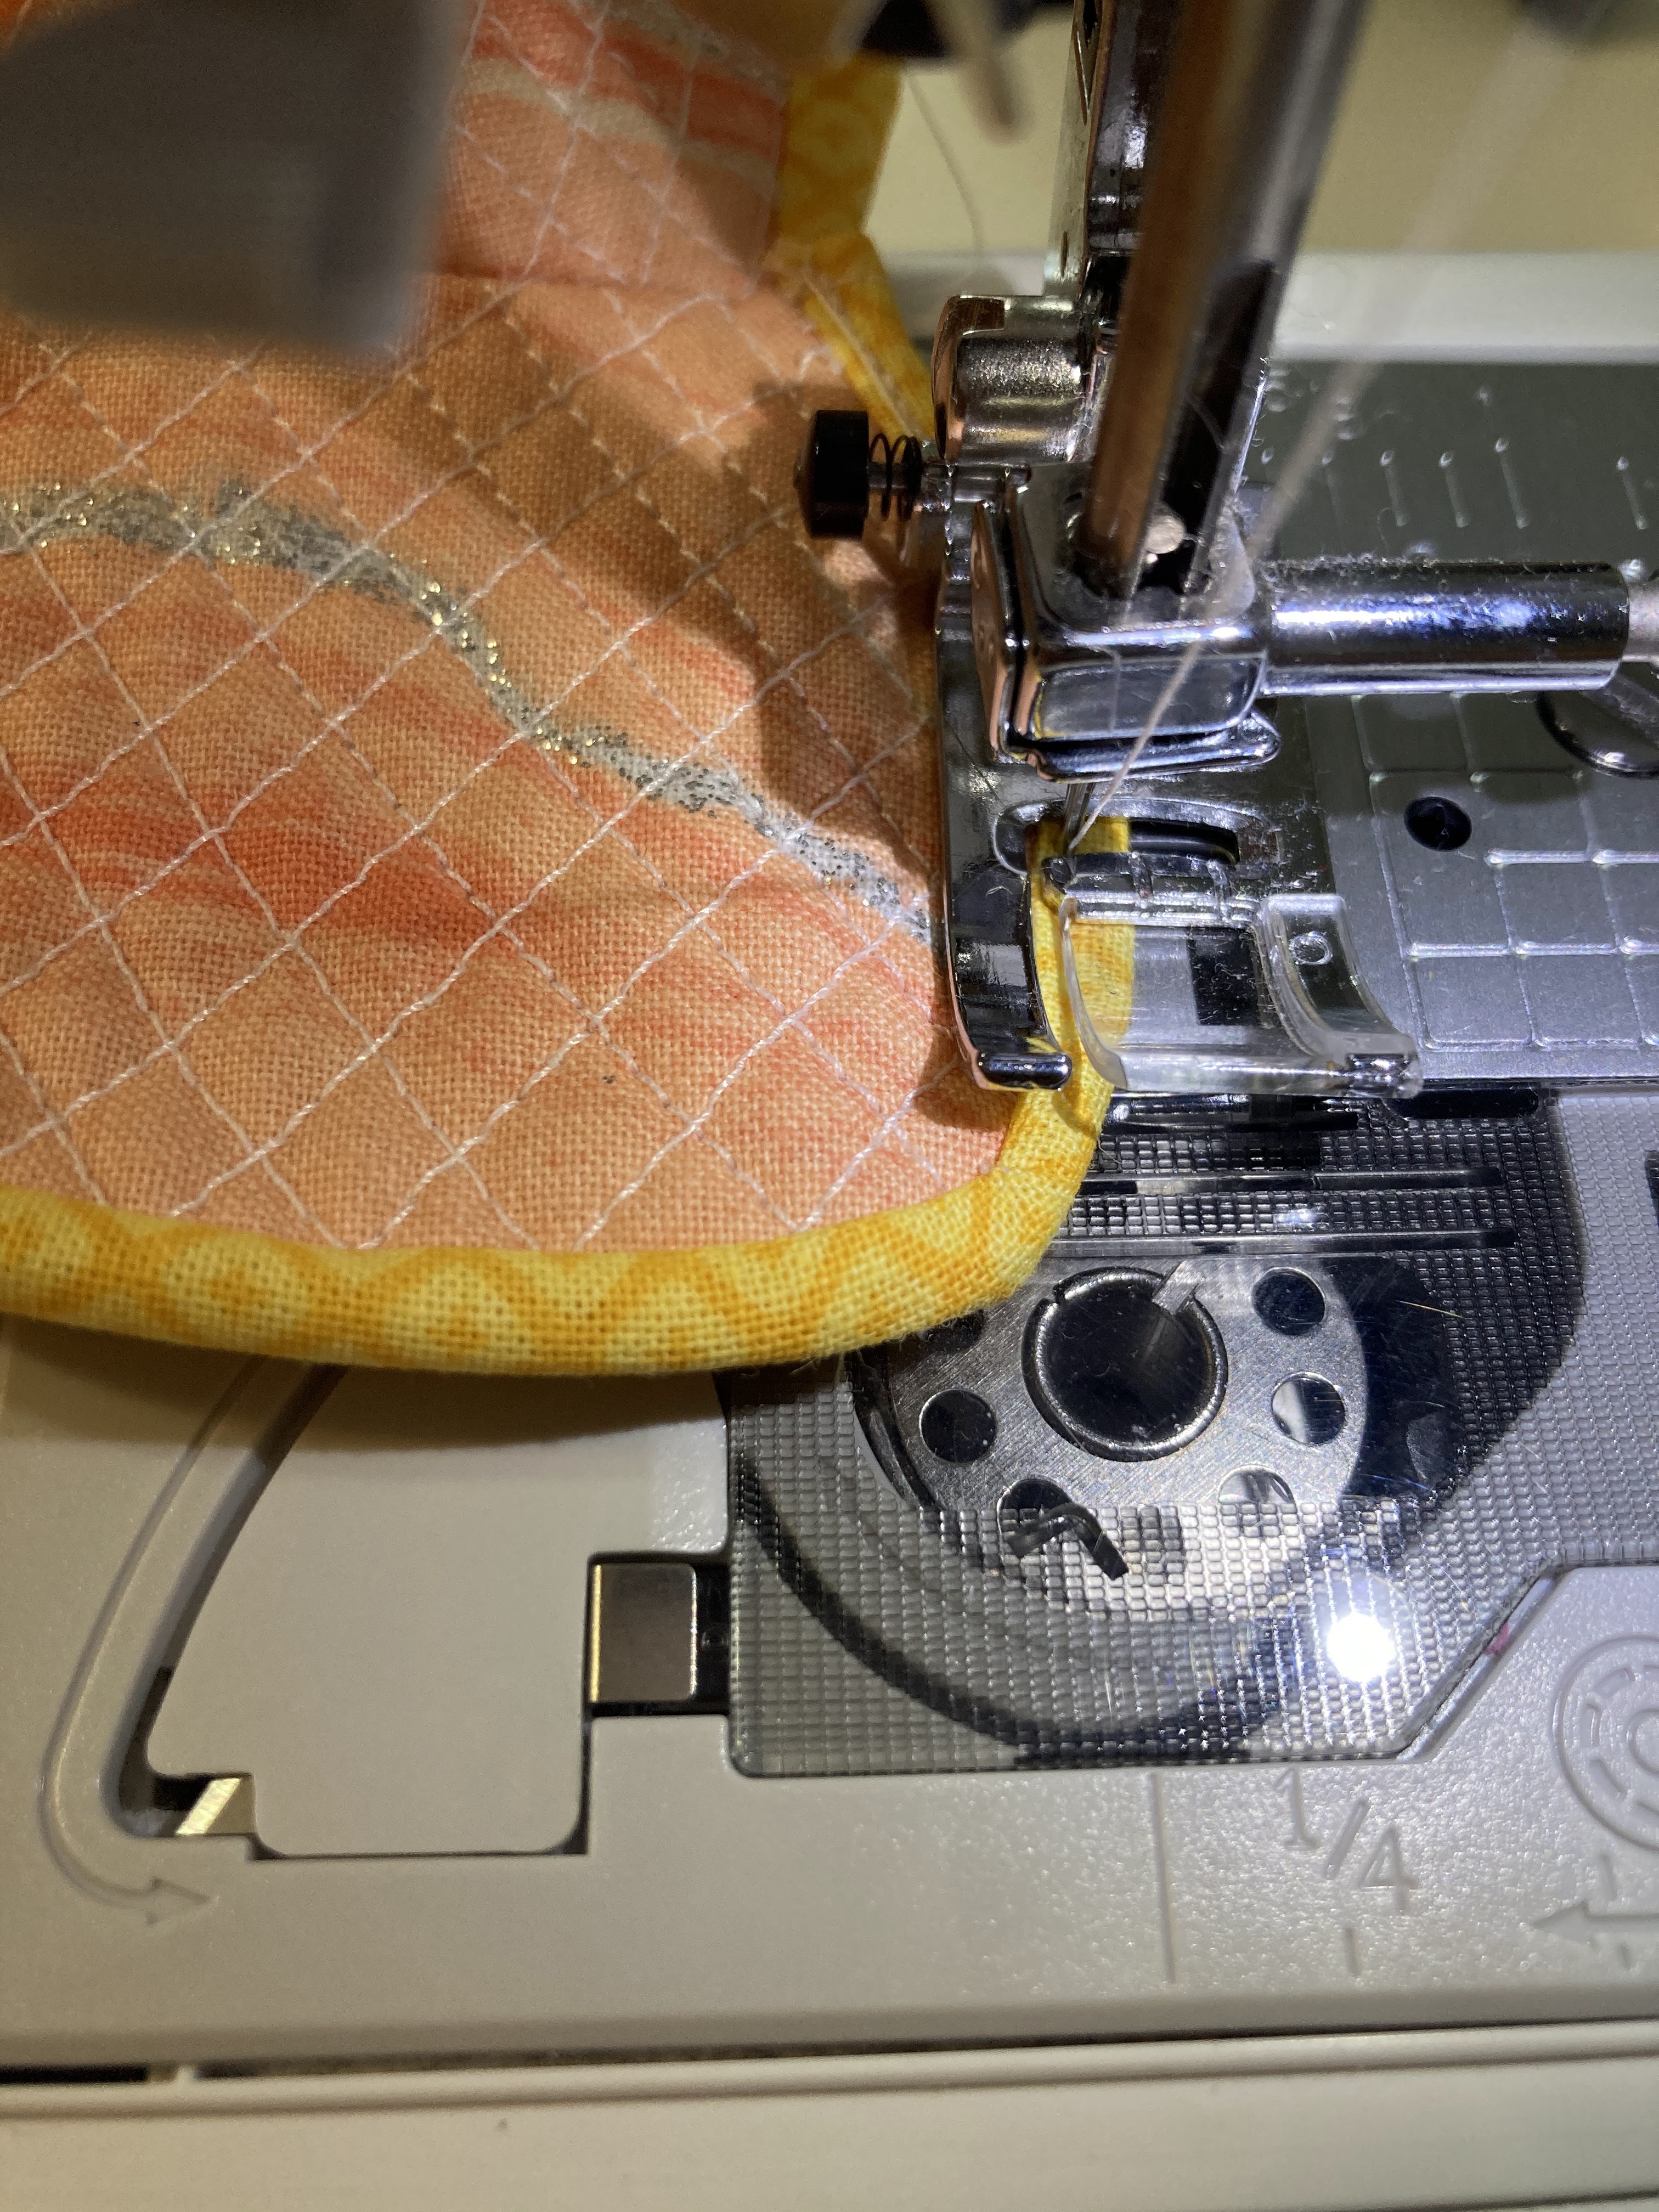
I then sew along the edge making sure to bend the fabric around the edges. This is the hardest part and it took my multiple tries to get it right. I recommend practicing on a piece of scrap.


At the end it should look like a really weird duck.


I flip the fabric strip to the back side and you should start to see a border.


Last I use my sewing machine to sew around the border 


And your done! Making saddle pads can be a tiring process but don't give up! The more you practice the better you get at making them.